 How-to
How to Make Gluten-Free South African Rusks at Home
Table of Contents
- Which Ingredients in Traditional Rusks Contain Gluten
- Reading Labels to Check Gluten-Free Status
- Choosing a Gluten-Free Flour Blend That Works in Rusks
- Gluten-Free Buttermilk Rusks: Ingredients and Substitutions
- Gluten-Free Muesli Rusks: Adding Oats, Nuts and Seeds
- How to Make Gluten-Free Rusks Step by Step
- Storing Gluten-Free Rusks and Your Next Batch
- Frequently Asked Questions
Are South African Rusks Gluten Free?
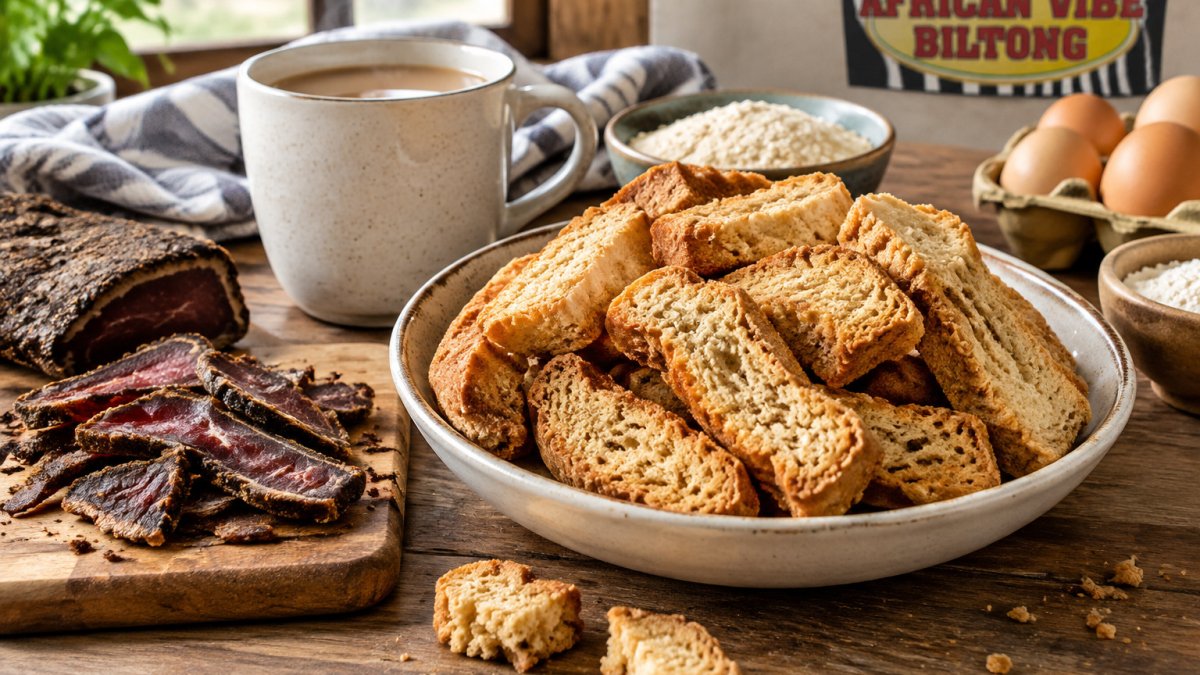
Traditional South African rusks are usually not gluten free, because most classic recipes rely on wheat flour. Standard rusks are made from self-raising flour, buttermilk and butter, so they contain gluten. Gluten-free versions are possible, but they need a deliberate recipe built around certified gluten-free ingredients. For a commercial rusk to compare with homemade, see the Oumas Rusks condensed milk option.
Here is the short answer you need: a standard rusk is not gluten free, but a carefully made gluten-free rusk can be very close to the original. The sections below show you which ingredients to watch, how to read labels, and how to bake a reliable batch at home.
Which Ingredients in Traditional Rusks Contain Gluten
Traditional South African rusks are built on wheat flour, so gluten is not an incidental contaminant, it is the structural backbone of the recipe. Understanding exactly where gluten comes from, and where it hides, is the first step to judging whether any rusk is safe for you. Because gluten supplies the structure wheat flour provides, nutritious sorghum flour can offer a different foundation for a gluten-free rusk.
The main source is wheat flour. Most traditional recipes also use ingredients that can hide gluten or pick it up during processing.
- Self-raising wheat flour: the core ingredient in classic rusks, and the primary gluten source
- Wheat bran or wholemeal flour: common in health and muesli rusks, adding both gluten and a coarse texture
- Rolled oats: naturally gluten free, but often cross-contaminated with wheat during milling, storage or transport
- Malt or some flavourings: malt is derived from barley, so it contains gluten even though it is not wheat
- Some spice or baking powder blends: check for wheat starch used as a carrier or anti-caking agent
Oats are the tricky one. Oats are naturally gluten free, but most supermarket oats are processed on shared equipment with wheat. For coeliac disease, buy oats labelled certified gluten free. In Australia, oats can only be labelled gluten free if they meet the strict limits in the Food Standards Code, so a plain "oats" label is not enough.
A product can be wheat free and still contain gluten from barley, rye or malt. The ingredient list is the only reliable guide, and "may contain wheat" warnings signal a real cross-contamination risk rather than a theoretical one.
Reading Labels to Check Gluten-Free Status
Checking labels is the fastest way to confirm a product is safe, but the label alone is not a guarantee. In Australia, the Food Standards Code sets the rules for gluten-free claims. A product labelled "gluten free" must meet strict limits, as set out by Food Standards Australia New Zealand gluten-free standard. That covers the product as sold, not how it is handled after you open it.
Look for these details on the pack:
- A clear "gluten free" statement on the front or ingredients panel
- Certified gluten-free oats or flour, not just "wheat-free"
- A "may contain wheat" warning, which means cross-contamination is possible
- Barley, rye or malt listed in the ingredients
Watch out: "wheat free" does not always mean "gluten free". Rye and barley also contain gluten, so read the full ingredients list. A product that lists malt extract or barley malt is not gluten free even if wheat is absent.
For people with coeliac disease, the label is only part of the picture. Cross-contamination can happen in a shared bakery, on shared equipment, or in a home kitchen where wheat flour is used. If you are buying from a bakery or bulk bin, ask whether gluten-free items are prepared on separate surfaces and with separate utensils. At home, keep a dedicated tin, sieve and baking tray for gluten-free rusks, and store them away from any wheat products.
A common pattern is that products carrying a certified gluten-free claim also state the certifying body, which gives you a second layer of assurance beyond the ingredient list. If a pack has no gluten-free claim and no certification, treat it as containing gluten unless you can verify otherwise with the manufacturer.
Choosing a Gluten-Free Flour Blend That Works in Rusks
A good gluten-free flour blend is the difference between a crumbly rusk and a sturdy one. Gluten normally gives structure, so the blend needs binders to replace it.
- Look for blends with xanthan gum to hold the crumb together
- Choose a blend designed for baking, not one only for bread
- Include a little starch, such as tapioca or potato, for lightness
- Avoid single-ingredient flours like rice flour alone, which dry out quickly
A blend with a binder generally works best, as rusks need a firm structure to survive the long, slow drying stage.
Gluten-Free Buttermilk Rusks: Ingredients and Substitutions
Buttermilk rusks are the classic South African style. You can keep the flavour by swapping only the wheat-based ingredients.
- Replace self-raising flour with a gluten-free self-raising blend
- Keep the buttermilk, butter and eggs as they are
- Add gluten-free baking powder if your blend is not self-raising
- Use sugar as normal, or reduce it slightly for a less sweet rusk
Buttermilk gives the rusks their tang and softness, so do not skip it. Most people cannot tell the difference once the rusks are baked and dried properly.
Gluten-Free Muesli Rusks: Adding Oats, Nuts and Seeds
Muesli rusks are popular for breakfast and snacking. Oats, nuts and seeds add texture and a wholesome bite.
- Use certified gluten-free oats only
- Add sunflower seeds, pumpkin seeds or chopped nuts for crunch
- Include sultanas or dried fruit for natural sweetness
- Toast the oats lightly first to deepen the flavour
If you want a ready-made option instead, the Oumas Rusks three-seed range is one example of a commercial seeded rusk to compare with your homemade batch.
How to Make Gluten-Free Rusks Step by Step
This method works for a standard gluten-free buttermilk rusk. Set aside about 30 minutes for mixing and baking, plus several hours of drying.
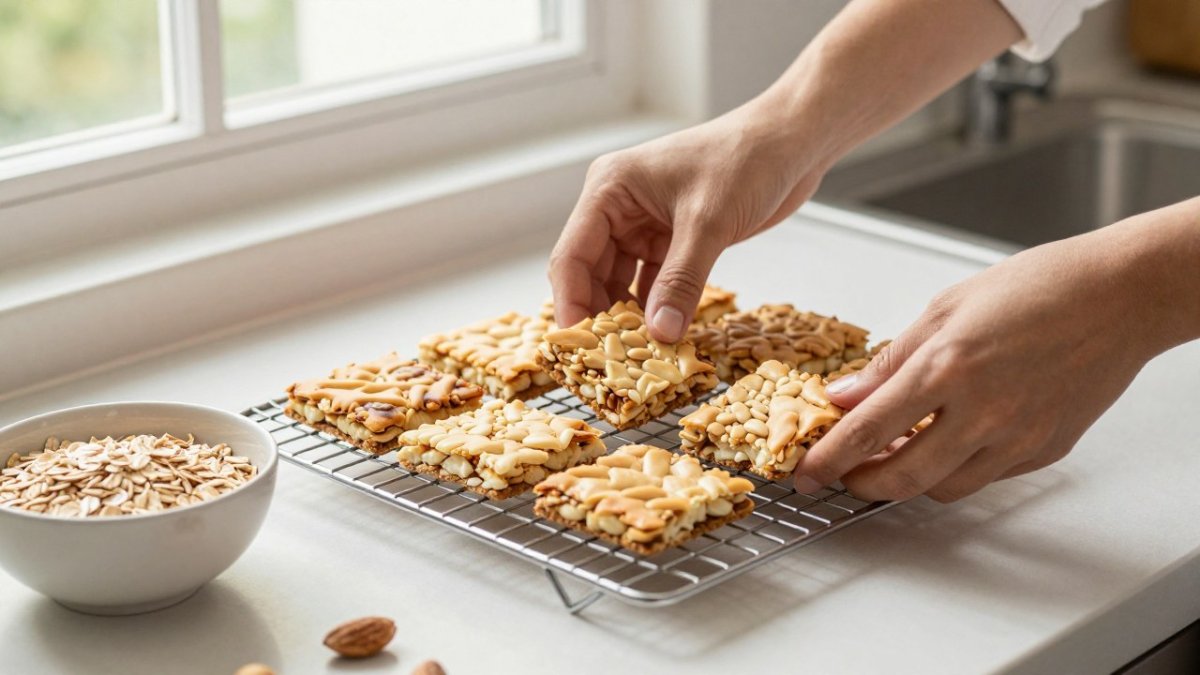
- Preheat the oven to 160°C fan-forced and line a baking tin.
- Beat the eggs, sugar and softened butter until smooth.
- Stir in the buttermilk until combined.
- Sift in the gluten-free flour blend, baking powder and a pinch of salt.
- Fold in any oats, seeds or sultanas last.
- Pour into the tin and bake until the top is golden and firm.
- Cut into rusk slices while still warm.
- Reduce the oven to 90°C and dry the slices for several hours until hard and crisp.
Tested Gluten-Free South African Rusk Recipe
Ingredients:
- 500 g gluten-free self-raising flour blend
- 250 g butter, softened
- 200 g sugar
- 2 eggs
- 500 ml buttermilk
- 1 tsp gluten-free baking powder
- Pinch of salt
Method: follow the steps above. Dry the slices slowly, as rushing this stage leaves a soft, crumbly rusk.
The steps below summarise the baking process for a gluten-free buttermilk rusk, with the time or repeat each stage needs.
| Step | What to do | Time |
|---|---|---|
| 1 | Preheat oven to 160°C fan-forced and line a tin | Before mixing |
| 2 | Beat eggs, sugar and softened butter until smooth | Until smooth |
| 3 | Stir in the buttermilk until combined | Until combined |
| 4 | Sift in gluten-free flour blend, baking powder and salt | Sift once |
| 5 | Fold in oats, seeds or sultanas last | Last |
| 6 | Bake until top is golden and firm | Until golden and firm |
| 7 | Cut into slices while still warm | While warm |
| 8 | Dry slices at 90°C until hard and crisp | Several hours |
Storing Gluten-Free Rusks and Your Next Batch
Store them away from heat and humidity, and check them after a few days for any softness. If they soften, put them back in a low oven for a short time.
Cool rusks completely before storing, or they will sweat and go soft. Keep a labelled tin for gluten-free rusks, separate from any wheat products, to avoid cross-contamination in a shared kitchen.
Need ready-made rusks between batches? Browse the full range of rusks, biscuits and tarts at African Vibe for fresh options. For travel or camping, our guide to rusks as a portable snack covers what to pack.
Baking your own gluten-free rusks lets you control every ingredient, and it is easier than it looks once you have a tested recipe. At African Vibe, we are here to help you find the authentic flavours you miss from home, whether you bake them yourself or buy them ready-made.
Frequently Asked Questions
Are traditional South African rusks gluten free?
Usually not. Most traditional South African rusks are made with wheat flour, which contains gluten, and often include buttermilk and sometimes oats that may be cross-contaminated. Some commercial products are labelled gluten free, so check the packaging. Homemade versions can be made gluten free by replacing wheat flour with a certified gluten-free flour blend and using certified gluten-free oats.
What ingredients in rusks contain gluten?
Wheat flour is the main source of gluten in rusks. Barley, rye and some malt flavourings also contain gluten, and regular oats can be contaminated during growing or processing. Baking powder, butter, eggs, sugar and dried fruit are usually gluten free, but always check ingredient lists for hidden wheat-based additives.
Can you buy gluten-free South African rusks in Australia?
Some specialty stores and online retailers stock gluten-free rusks, but availability varies and stock changes often. Read the label for a gluten-free claim and any allergen statement. For current stock and prices, check African Vibe's website or contact the team directly, as pricing depends on the product and quantity.
How do you make gluten-free rusks crisp?
Bake the rusks until fully set, then cut them into slices and dry them in a low oven at around 100 degrees Celsius for several hours until they are hard all the way through. Gluten-free flour blends absorb moisture differently, so a slightly longer drying time often helps. Let them cool completely on a rack before storing.